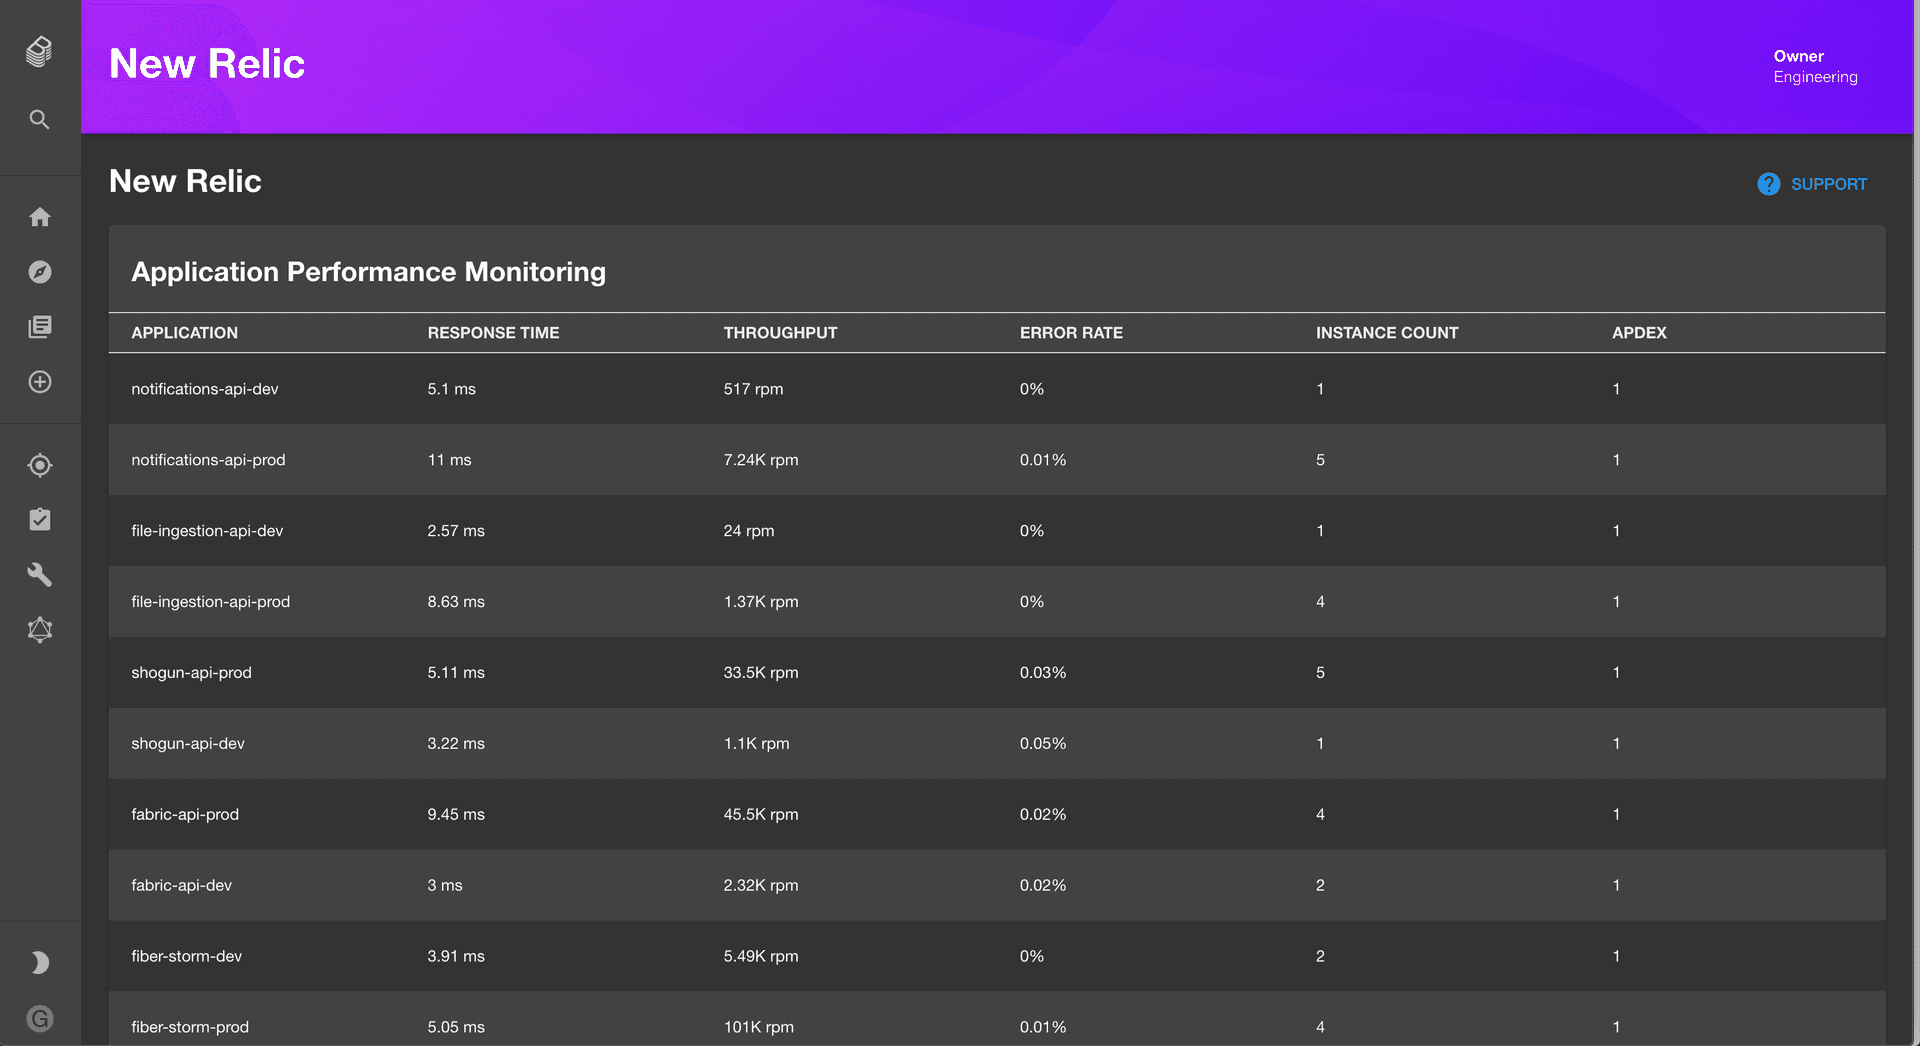
See the New Relic Backstage plugin in action
Installation steps
Install the plugin into Backstage.
yarn add @backstage/plugin-newrelicAdd New Relic page to your Backstage instance
// packages/app/src/App.tsx
import { NewRelicPage } from '@backstage/plugin-newrelic';

...
const routes = (
  <FlatRoutes>
    ...
    <Route path="/newrelic" element={<NewRelicPage />} />
    ...
  </FlatRoutes>
);
...
Add link to New Relic to your sidebar
// packages/app/src/components/Root/Root.tsx
...

export const Root = ({ children }: PropsWithChildren<{}>) => (
  <SidebarPage>
    <Sidebar>
      ...
      <SidebarItem icon={ExtensionIcon} to="newrelic" text="New Relic" />
      ...
    </Sidebar>
  </SidebarPage>
);
Add the proxy config
// app-config.yaml
proxy:
  '/newrelic/apm/api':
    target: https://api.newrelic.com/v2
    headers:
      X-Api-Key:
        $env: NEW_RELIC_REST_API_KEY
Navigate to youdomain.com/newrelic.
Found a mistake? Update these instructions.
Prefer a no-code Backstage setup?
Become a Backstage expert
To get the latest news, deep dives into Backstage features, and a roundup of recent open-source action, sign up for Roadie's Backstage Weekly. See recent editions.
