Skip the manual plugin installation with no-code Backstage
Installation steps
Install the plugin into Backstage
yarn add @roadiehq/backstage-plugin-github-pull-requestsImport it into your Backstage application
// packages/app/src/components/home/Homepage.tsx

import {
  CloudsmithStatsCard,
  CloudsmithQuotaCard,
  CloudsmithRepositoryAuditLogCard,
  CloudsmithRepositorySecurityCard,
  } from '@roadiehq/backstage-plugin-cloudsmith';
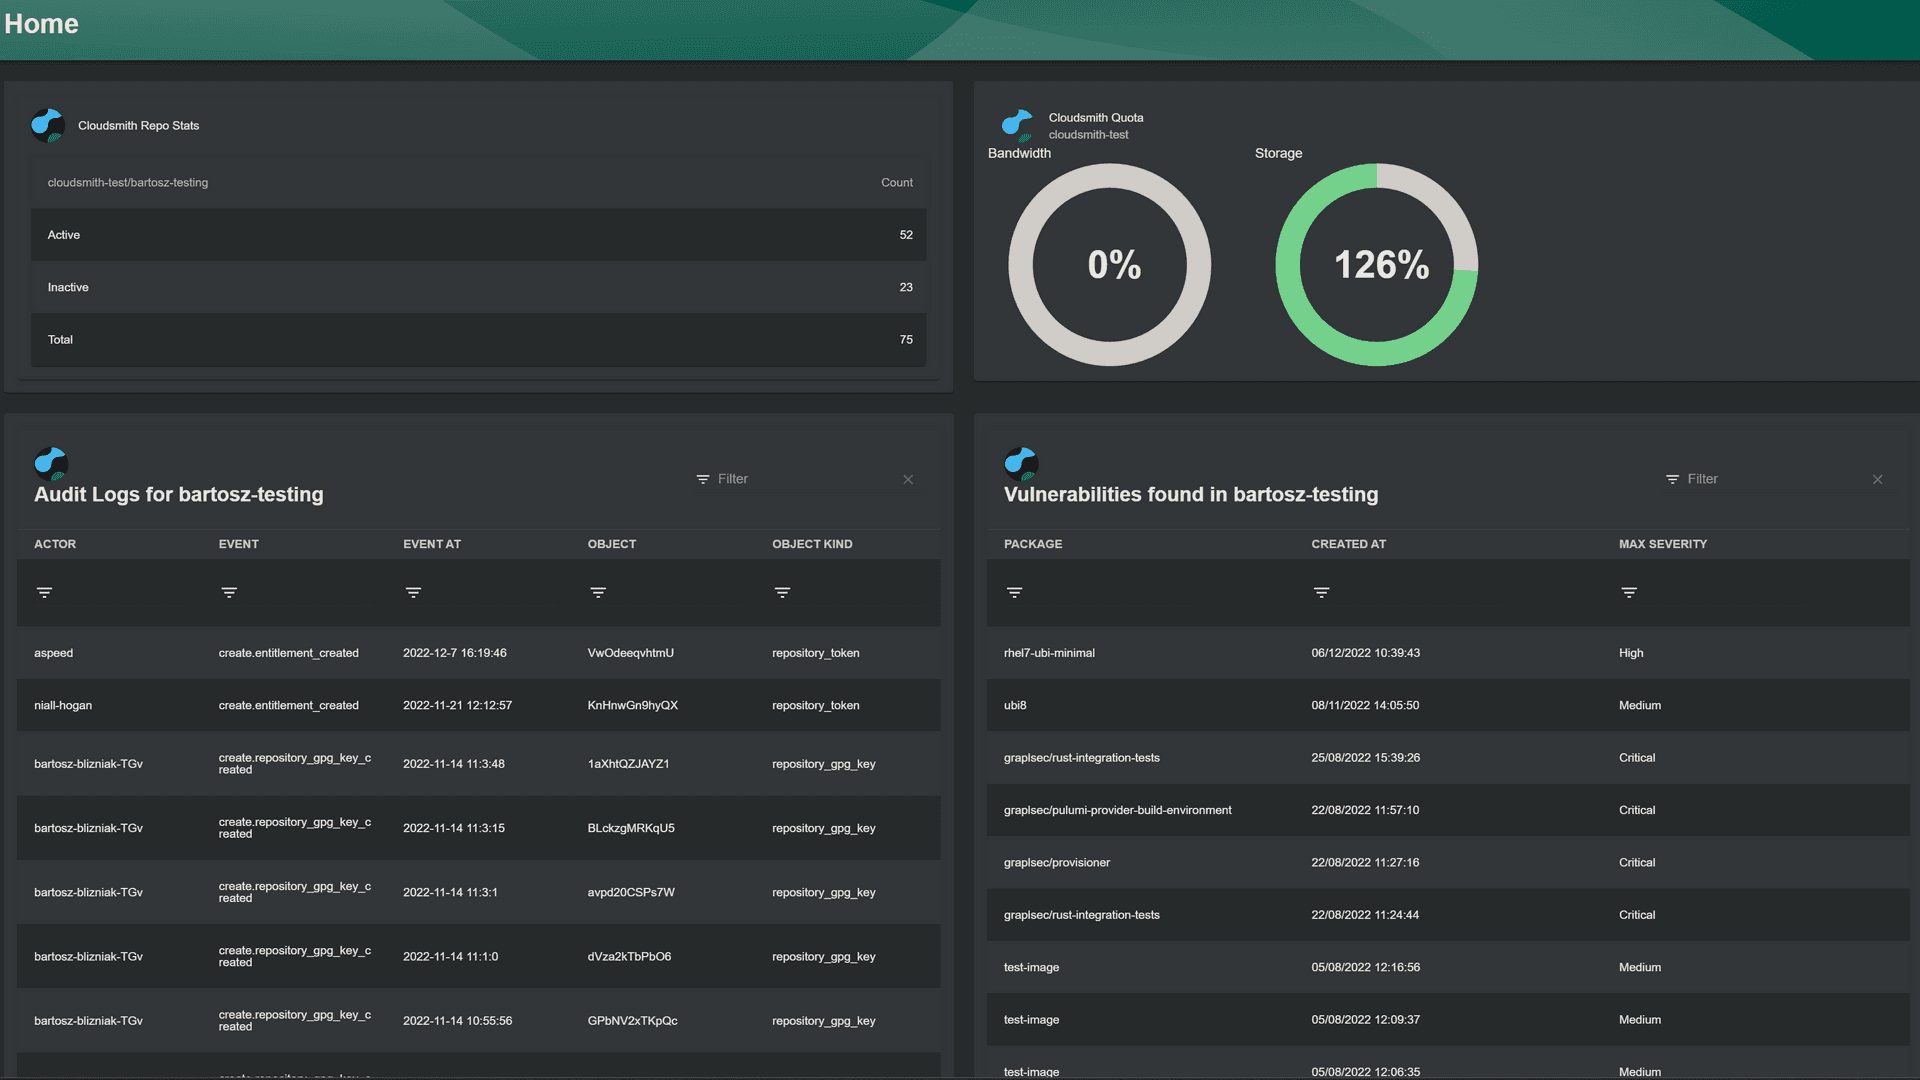
Add the card to your Backstage catalog.
// packages/app/src/components/home/Homepage.tsx
<Grid item xs={12} md={6}>
  <CloudsmithStatsCard repo="repo-name" owner="org-name"/>
</Grid>

<Grid item xs={12} md={6}>
  <CloudsmithQuotaCard  owner='org-name'/>
</Grid>

<Grid item xs={12} md={6}>
  <CloudsmithRepositoryAuditLogCard owner='org-name' repo='repo-name'/>
</Grid>

<Grid item xs={12} md={6}>
  <CloudsmithRepositorySecurityCard owner='org-name' repo='repo-name'/>
</Grid>
Found a mistake? Update these instructions.
Things to know
Authentication
In order to authenticate with Cloudsmith, make sure that you have a environmnet variable setup $CLOUDSMITH_API_KEY in order to authenticate with your repo.
Prefer a no-code Backstage setup?
Become a Backstage expert
To get the latest news, deep dives into Backstage features, and a roundup of recent open-source action, sign up for Roadie's Backstage Weekly. See recent editions.
